
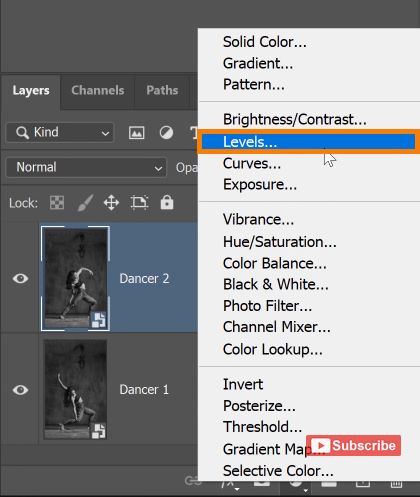
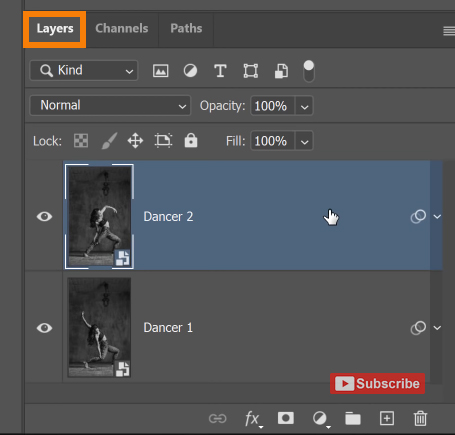
djust the Saturation slider to enhance the richness of the colors. If you want to target individual colors, click on the drop-down and select the color that you wish to adust. Once you are happy with the new adjustments, select the layer on top > hold Shift > click the bottom layer > right-click > Convert to Smart Object. The layers will combine into one single smart object and you can treat this composite as a single image.
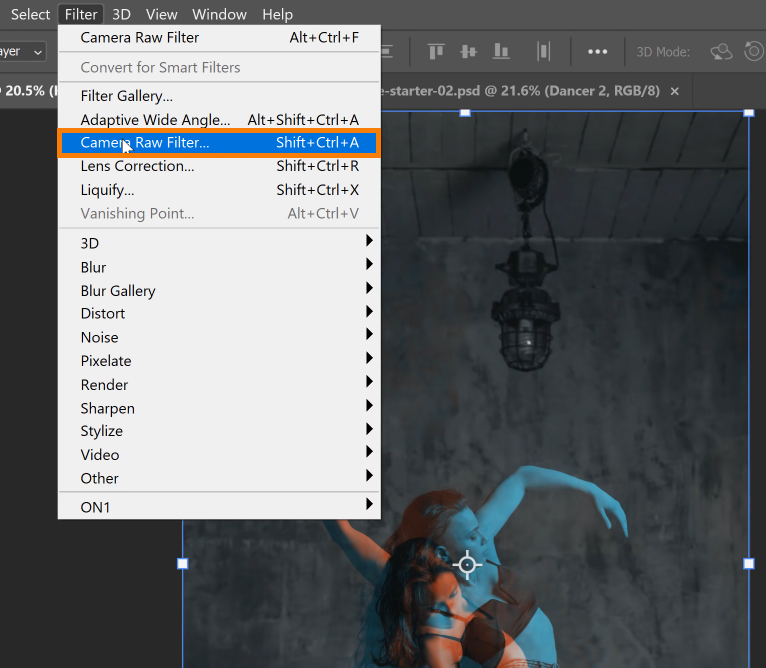
Now, go to Filter > Camera Raw Filter to open the window that allows you to adjust the tonal controls and color. You can use the sliders in this filter to adjust the image further. When you are satisfied with the tonal and color adjustment, press OK to exit the Camera Raw filte
With this technique, achieving the duotone double exposure effect in Photoshop is just right at your fingertips and you can apply special effects and several blending modes to choose from. Adobe Photoshop can do wonders to your images and the Photoshop Training Channel is here to teach you the tips and tricks.